Family

Family
You MUST Chase Your Dreams, For Your Dreams Will Not Chase You
Showing posts with label Crafts and Sewing. Show all posts

Wednesday, March 14, 2012

From Beast to Beauty

I have been loving the look of wrapped canvases
and since we had our pictures taken last fall
I have been looking and pinning ideas
on how to achieve this look for less

When I saw two of these beasts
for $1 each I knew it was time to start
implementing some of those ideas


They were each 16 x 20 and just plain ol ugly
if you are not into pastels & flowers...which I'm not

So I snagged both of them up
 and ordered two 16 x 20 prints from Shutterfly
(which I was very impressed the their shipping and the fact
that both pictures arrived with no damages or creases)

First I had to disassemble the flower pictures
The canvas was just held on by some staples
so I removed a bazillion of those little buggers with my screwdriver


The pliers came in handy for some of those stubborn little buggers


After I was done this is what I was left with


Next I flipped the canvas over
and stapled it back on


I wanted the blank side up so I had a smooth surface to glue my
picture onto


This is where I stopped taking pictures because I needed both hands
I put a coat of mod podge on the canvas and laid my picture on top
I had a few minutes to make sure the placement was perfect
and then started gently rubbing out all the bubbles.

After this dried I put a few coats of mod podge on top of the picture
just to seal it up nicely.
*Note I actually had too many bubbles the first time I did it
and I was able to carefully remove my picture after the mod podge
dried and start over - because I cannot do anything right the first time!

I then added some scrapbook paper to the sides to help hide all those
unsightly staples and used a sponge to paint all edges
I also sponged just a bit onto the picture itself hoping it
would make it look older/like it blended into the sides

...note to self - next time wear gloves :)


You can see the strips of scrapbook paper in this next picture
This picture makes it look very messy and unprofessional
...which it is :) but once you don't zoom in it looks great


See?! 


I was able to do one for each of our little girls 


And here's how they look up on the wall


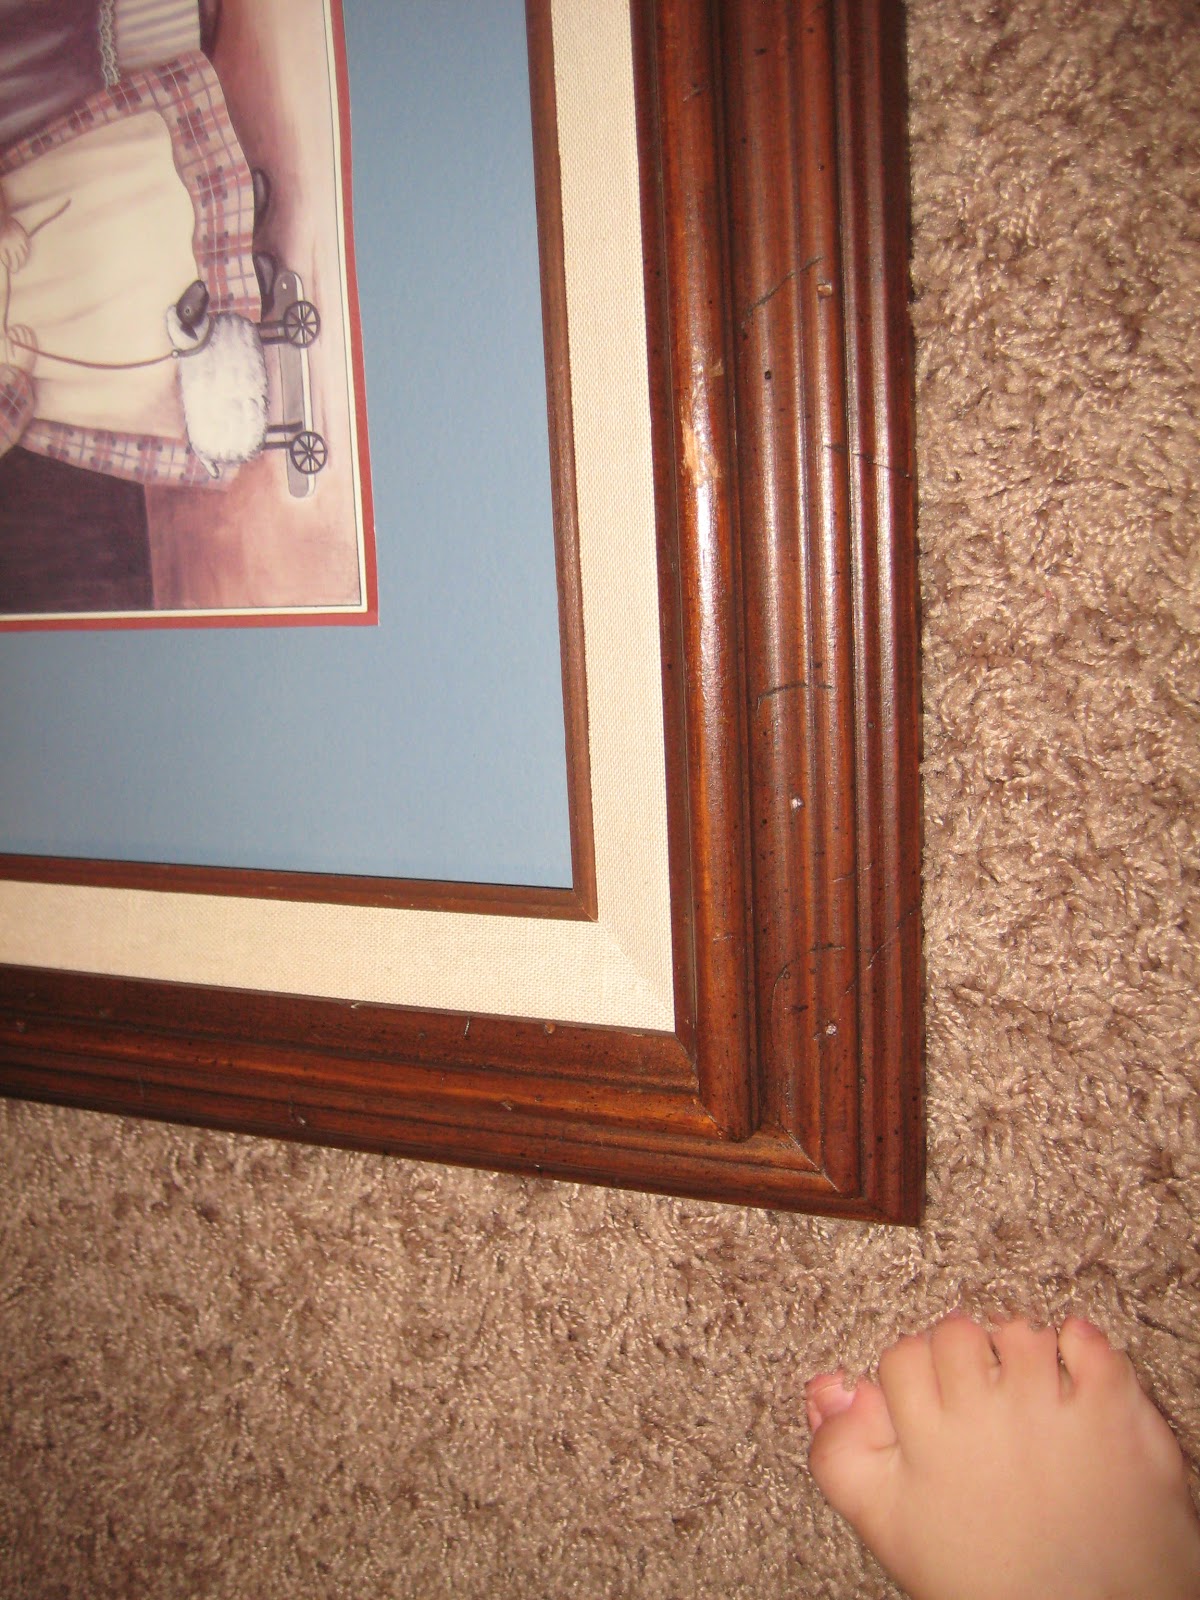
Completely out of order really, but here is a picture of the corner
looks a bit more professional from this angle :)


Total cost for each 16 x 20 canvas was $19
compared to $72 each for a gallary wrapped canvas print
which means I saved a total of $106 :).
And canvases from JoAnns aren't that expensive
especially when you catch them on a 40% off sale
so I can see myself repeating this process again


Tuesday, March 6, 2012

Oh How We Grow

I've always liked the idea of having some kind of
measuring device to mark our kids growth
over the years - something that can move
with us, if that were ever the case

I have been seeing the DIY life size rulers
all over pinterest and knew it would be perfect

One 1 x 6, some stain, paint/stencils & a sharpie later
this is what we have to happily record how
much we grow


I made it so we could hang it a little higher
because when your husband is 6'7" you need a BIG ruler 


So far I think we have measured the girl's height every day since it
has gone up :)


Tuesday, February 28, 2012

Re-purposing current decorations

So when we re-painted the living room
from deep Burgundy to lighter & brighter grayish/taupe
Our current decorations kind of looked out of place

So I am trying to not just go out & buy all new
but either re-purpose what we have
or make it myself

On the old walls we had a picture I had picked up at TJ Maxx
about 2 years ago...when we painted the first time :).


I still liked it, but it just felt a bit dark in the room now
it's the one on the left


So instead of just storing it downstairs
or putting it in the garage sale pile
I figured I could take it apart, play with it &
make it work with a lighter feel

First I painted the frame white
and the inerds (which was a plasticy insert made to look like metal)
a hammered metal I had on hand in the garage

Then I played around with different pictures

Here I tried it with different maps


Next I put in pictures from our family photo session with Carrie House


Scott voted for the photos
So I grabbed the mod podge
and just started gluing them on
(the pictures are just printed off from our printer)

Oh and then I decided the middle was too dark
and lightened that up as well
...still might need another coat


Here it is on our 1 finished wall (the others are still blank)
I love the green & blue picture frames
but I don't necessarily love them in that room so who knows they may
 change color again before this is all said and done :)


Friday, November 4, 2011

Halloween & A Late Birthday Present

So the pirate made a re-appearance this year
at Lilly's request
there was more "Argghhs" and just a few
"give me some candy" followed quickly by a "please"
what a nice polite little pirate

The pirates sidekick this year
was the ferocious purple dragon
who's "Roar" was more cute than scary
but the biggest hit was the tail wagging
that she did at every house we went to


And I finally finished Scott's birthday present from the girls
I saw the idea on Lil Blue Boo
I LOVE her blog by the way
this is one very talented women!!

Anyway the leather bracelet finally arrived after being on back order
which of course I didn't notice until after I placed my order - doh!
I had Lilly help me out with writing "Daddy" in crayon
and we both worked on the heart

Once that once done I just used an exacto knife
to carve out the letters very carefully


I was worried it wasn't going to turn out very well
as I did not perform the neatest surgery on those letters
but after I applied the stain I loved the extra character
my little nicks provided


And the best part was Scott's face when he saw it :).


Friday, October 28, 2011

Photo Blocks

So for Scott's birthday this year
I tried to think of something
that was creative & fun

I remembered him saying that
he didn't have any updated pictures
of our family on his desk

And since we had just
did our awesome sessions
with Carrie House
my wheels immediately started turning

So I looked at what we had
around the house
and came up with the idea
for some photo blocks

I cut my 4 x4 into blocks
using Scott's table saw
and I may have scared years off of both our lives

When cutting my last block my 4x4 was down to about 7 inches long
and I may have been being a scaredy pants
and not holding onto it tightly enough
only because my fingers were fricking close to the actual blade!

Well I still have all my fingers
but a portion of the 4x4 flew off the table saw
and hit the wall with some pretty good force
which I'm extremely thankful it hit the wall
and not me

This brought Scott running out to the garage
I think he was expecting blood
He offered to do the last cut for me
which I gladly accepted

So after my near death experience
I gathered my blocks & the rest of my supplies


I painted all the blocks white
and then attempted the mod podge transfer
I have been seeing all over pinterest

I printed my photos off on a laser printer
brushed a layer of mod podge on my block
and placed the photo on there
ink side down

After they had dried I sprayed them lightly with water
and gently (gently is key here) started to rub the paper off
with my fingers

I found that if I let them dry for just a couple of hours
this worked best
if I let them go for longer
it was harder to get the paper off

Here is what the pictures looked like


This is a good example where I wasn't so gentle
but I liked the worn look so it was okay

I then added another layer of mod podge
on top to protect the pictures
and it made it shiny :)


I also added some letters to the blocks
so they spell out a few different letters
and I figured Scott's students would get a kick
out of playing with them


I roughed up the edges & added
some paint to give them a antiquey look
...and then of course forgot to take more pictures :)

I really like how these turned out
and how simple (and cheap!) this was
I'm already thinking of more
mod podge transfer ideas to try out :)


Thursday, June 9, 2011

DIY Free Bedroom Decorations

Free decoration #1

We are still putting some finishing touches
on our bedroom renovation
and of course we are trying to do them
on a tight if not non-existent budget

So while browsing the web for inspiration
I found this


and thought Perfect!
I want a coastal/beachy feel to the room
and I just fell in love with this
I love the color and the way the
sayings make me feel

So I went out to the garage and rummaged
through some leftover door casing
from our dining/reading room
board and batten project
and I had just enough

Next I printed off my words
and grabbed my supply of craft paints


After painting my boards a mixture of colors
I white washed the dark ones
and glazed the lighter ones
then lightly distressed them all
to give them that old worn look
(instead of the I bought them at HD 2 months ago look)


I played with the different pieces
to come up with a grouping that I liked


Then I painted on my words
hot glued the boards together
and added some twine to hang it with
and ended up with this


I love that it looks old
and that it adds just a few more pops of color
to the room


Free Decoration #2

While in the garage I also spied
and old oar that my husband has had forever
It was broke in two
so I glued it back together
slapped on some paint
and hung it on our plank wall
with some hooks


Free Decoration #3

Next I found some tongue & groove
boards that were leftover from a previous project

I glued the two pieces together
with liquid nails


Added some paint
I mixed two blues I had together to obtain
the beachy blue that was in my head
then I white washed it
and painted on my letters

And now it hangs above the oar

Total cost for these 3 mini projects - nada :).


Thursday, May 19, 2011

Repurposing an old cabinet door

I picked up this little treasure the other day
on the side of the road mind you
Someone is renovating this awesomely beautiful
old home in our local downtown area
They had placed a bunch of stuff out by
the curb, so of course I just had to
stop and check it all out.

I found this little guy
and just couldn't pass it up
I wasn't sure what I was going to do with it
but I knew I would think of something if I gave it long enough


It definitely required a good scrubbing
and I sanded it down
After sanding it though I decided against painting it
I liked all the character coming through already
I even decided against filling the holes from the handle
and not solely just due to laziness :).

We have 3 full albums of wedding photos
that we have basically done nothing with for the past 5 years
So I grabbed a few of my favorites
used a glue stick to adhere them to my door
to get this...


I think it will go perfectly in our bedroom!


Friday, May 13, 2011

Picture Frame Jewelry Holder


I picked up this really creepy picture at the Restore yesterday for $2
and they threw in some chicken wire for free
which may be due to the fact that I visit the place weekly
at least...


Creepy doll picture - but awesome frame


I quickly set to taking apart the picture frame
with the help of my lovely daughters
and took the empty frame out to the garage to spray prime it
After it dried I decided against adding any paint
and just glazed it as is and sanded down the edges
Once everything had dried I flipped it over and added
my free chicken wire
to come up with an end result of this


Which looks great here :)


I added some eye hooks on the side to hold my necklaces


The best part is it took me literally 10 minutes to make
and now I have some functional art :).